
Onboarding is the key to successful document management adoption. A well-executed onboarding process ensures users quickly see the value of your platform, increasing efficiency and reducing operational costs. Here's a quick guide to get started:
- Set Clear Goals: Define measurable goals like onboarding completion rates, time to first value, and feature adoption metrics.
- Map the User Journey: Identify key steps like account creation, first document upload, and setting up integrations.
- Prepare Resources: Develop user guides, video tutorials, and troubleshooting documents. Assign clear roles to IT, trainers, and mentors.
- Account Setup: Use role-based access control (RBAC) to manage permissions and ensure strong security measures like multi-factor authentication.
- Integrate Tools: Connect platforms like HubSpot, Zapier, and DocuSign for seamless workflows.
- Train Users: Offer hands-on training to teach navigation, workflows, automation, and security features.
- Support and Feedback: Provide email, live chat, and phone support. Regularly gather feedback to refine processes.
- Continuous Improvement: Track metrics like time to value (TTV), onboarding completion rates, and feature adoption. Schedule 30-, 60-, and 90-day check-ins to ensure user success.
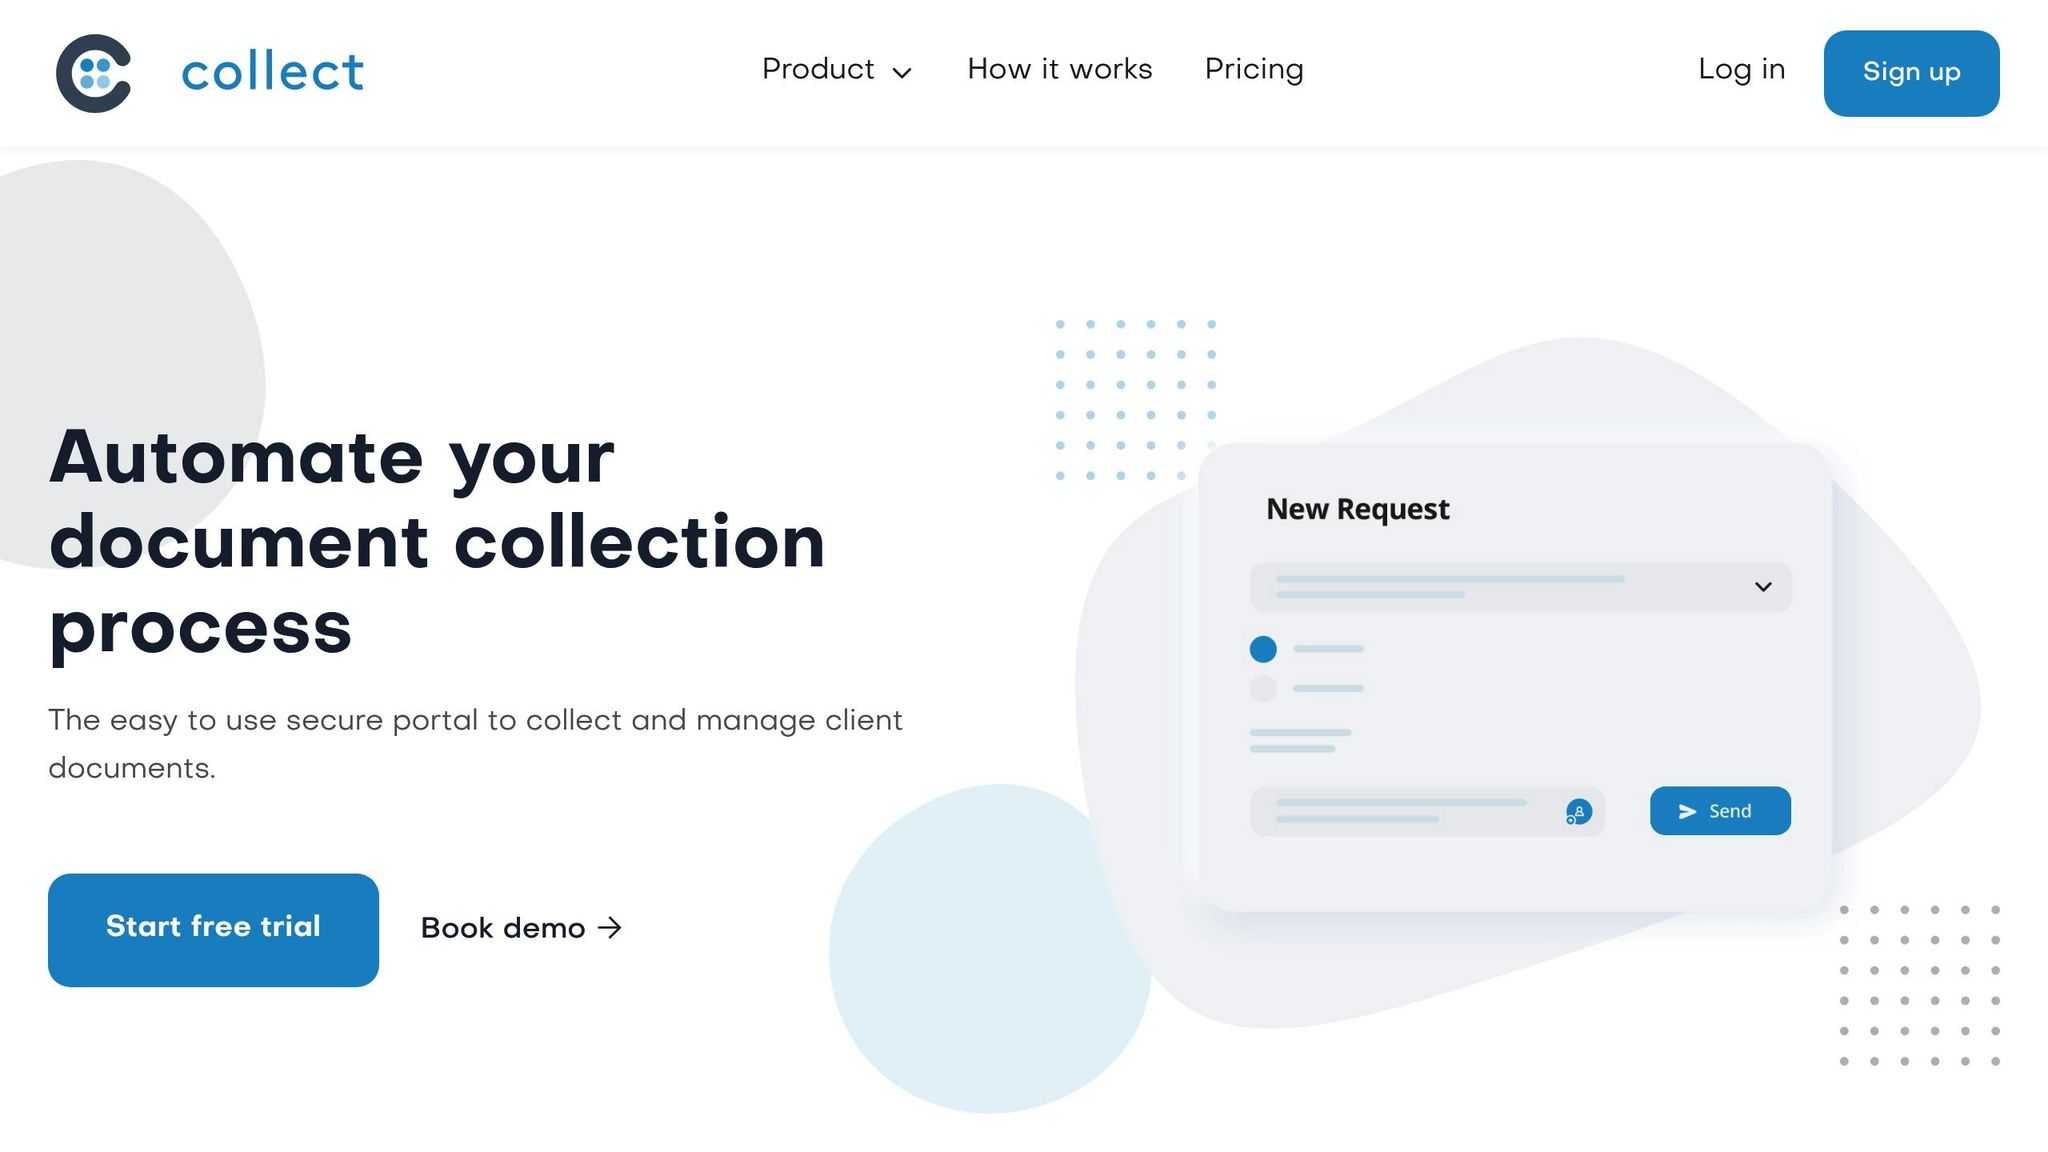
Quick Tip: Platforms like Collect simplify onboarding with automated reminders, customizable portals, and robust integrations, helping users adopt new workflows faster.
Pre-Onboarding Setup
Laying the groundwork before onboarding is essential for ensuring success. Companies with structured onboarding processes see employees become 50% more productive, while poor onboarding can lead to losing up to 90% of users within the first month.
Set Clear Goals and Success Metrics
Start by defining specific, measurable goals to guide your onboarding process. Clear objectives make it easier to track progress and spot areas for improvement. Focus on key performance indicators (KPIs) that align with your document management goals. These might include:
- Onboarding completion rates
- Time to first value
- Net Promoter Score (NPS)
- Time-to-productivity
- Completion rates for onboarding modules
- Engagement with specific features
- Retention rates after 30, 60, and 90 days
Tailor these benchmarks to your organization’s size and industry. For instance, if you're using Collect for client document collection, you might aim for 80% of users to create their first customized portal within 48 hours of setup.
A great example of this approach is WGBH Educational Foundation. They increased their onboarding completion rate to 48% by using WalkMe to guide new hires through Salesforce. Their success came from setting clear targets and consistently measuring progress.
Once your goals are in place, the next step is to map out the user journey.
Map User Journey Steps
Understanding how users interact with your document management system can help you identify and address potential challenges early. Start by analyzing your target user personas and their unique pain points. For instance, an HR manager collecting employee documents will have different needs than a real estate agent managing client paperwork.
Break down the journey into clear stages, from account creation to completing their first workflow. Identify key touchpoints such as:
- Signing up
- Receiving welcome emails
- Viewing the initial dashboard
- Uploading their first document
- Customizing a portal
- Setting up integrations
For each touchpoint, outline the ideal experience and flag potential friction points. Define milestones that signal progress, like the "aha moment" when users realize the platform's value, completing their initial setup, or adopting key features like automation tools.
With a clear map of the user journey, you can focus on assembling the resources and team needed to guide users effectively.
Gather Resources and Assign Team Roles
Preparation is key to avoiding delays and confusion during onboarding. Start by creating training materials tailored to your workflows. These might include:
- Step-by-step user guides
- Video tutorials for common tasks
- Troubleshooting documents
- Quick reference cards for frequently used features
If you're implementing Collect, highlight how automated reminders work, how to customize portals, and how to set up integrations.
Ensure your technology is ready to go. Check that hardware requirements are met, software licenses are available, and user access rights are properly configured. Test all integrations ahead of time, whether it's Google Drive, SharePoint, Dropbox, or other tools your team relies on.
Assign clear roles to support the onboarding process. For instance:
- IT staff can handle technical setup and troubleshooting.
- Administrators can manage user accounts and system configurations.
- Trainers familiar with the platform and workflows can provide hands-on guidance.
"We aim to have our existing staff feel ownership of the onboarding and ramp-up of every new hire. Having everyone involved in the process keeps onboarding front-of-mind in the org - it's not just how fast we grow, but how fast we can get people to a place where they feel productive and successful." - Cheryl Roubian, Director of Talent Management at Greenhouse
Involve subject matter experts from various departments to share practical use cases and assign mentors to support users during their first weeks. This human touch often makes the difference between users who struggle and those who quickly find their footing.
Effective onboarding doesn’t just boost user satisfaction - it can also reduce employee turnover by up to 42%. Investing time in pre-onboarding preparation sets the stage for long-term success, productivity, and satisfaction.
User Account Setup and Access
After completing your preparation, the next step is to set up user accounts with the right security measures and system integrations. This step ensures users can access the platform efficiently while keeping sensitive data protected.
Create User Accounts and Set Permissions
When creating user accounts, a well-thought-out approach to permissions and access control is critical. One effective method is role-based access control (RBAC), which assigns permissions based on predefined user roles rather than individual accounts - making it easier to manage security across the board.
Start by applying the principle of least privilege. This means users should only have the access they need to perform their job duties - nothing more. To strengthen security, implement strong authentication measures, such as complex password requirements and multi-factor authentication. For environments that handle highly sensitive data, you might even consider biometric authentication for an extra layer of protection.
Before setting up accounts, define clear user roles. Here are some common ones in document management systems:
- Administrators: Manage system settings, user accounts, and overall security policies.
- Editors: Have the ability to create, edit, and delete documents within their assigned scope.
- Reviewers: Can view and comment on documents but cannot make direct changes.
- Viewers: Have read-only access to specific document collections.
If you're using Collect, the Pro plan ($129/month) supports up to 5 users, while the Business plan ($349/month) accommodates 10 users and includes advanced features like single sign-on (SSO) and enhanced rights management.
To streamline the process and minimize errors, consider automating onboarding and offboarding. This ensures that permissions are updated or revoked promptly when employees join or leave your organization. Regular access reviews - ideally conducted quarterly - can help identify and remove outdated permissions, keeping user access aligned with their current responsibilities.
Connect Third-Party Tools
Once user accounts are secured, integrating third-party tools can help streamline workflows and eliminate data silos. Modern document management platforms support a variety of integrations that can transform how your team operates.
For instance, Zapier acts as a central hub for automation, connecting your system to thousands of apps. You can use it to trigger actions like updating project management tools when a document is signed or sending Slack notifications when new files are uploaded. As Zapier puts it:
"Zapier moves info between your business apps automatically, so you can focus on your most important work."
Integrations with tools like HubSpot CRM allow teams to manage contracts and proposals more efficiently. Sales teams, for example, can create, send, and track documents directly from HubSpot contact or deal records. Similarly, DocuSign integration enables seamless electronic signature workflows. For instance, when a deal is marked as signed in HubSpot, it can trigger a DocuSign request and automatically update the corresponding records once completed.
Cloud storage integrations with platforms like Google Drive, SharePoint, OneDrive, Dropbox, and Box ensure your team can access documents without duplicating files. Communication tools like Slack can also be connected to provide real-time updates on document status changes, approval requests, or approaching deadlines.
For Collect users, integration options vary by plan. The Pro plan includes integrations like Zapier, HubSpot CRM, Pipedrive, and DocuSign, while the Business plan offers additional features like API access and webhook capabilities. Testing integrations during the initial setup phase is essential to avoid workflow disruptions and ensure everything operates smoothly.
Customize Client Portals
Tailoring client portals to reflect your brand can significantly enhance the client experience. With white-label customization, you can maintain a consistent brand identity throughout every client interaction.
Start by uploading your company logo, selecting brand colors, and customizing portal visuals to align with your corporate identity. This branding carries over to client-facing emails, portal interfaces, and document request forms - creating a polished, professional experience.
You can also customize the functionality of your portals to match your specific workflows. For example, you might set up automated reminders: an initial reminder after 3 days, a follow-up after 7 days, and a final notice after 14 days. Make navigation user-friendly by including clear section headers, helpful descriptions for required documents, and progress indicators to show clients how far along they are in the process.
Adding conditional logic can make forms smarter and more efficient. For instance, if a client indicates they’re a first-time buyer, additional fields for specific documentation can appear automatically. Security settings are another critical aspect - enforce strong password policies, enable two-factor authentication, and establish document retention policies that comply with regulations.
For those on Collect’s Business plan, white-label features go even further, allowing you to completely replace Collect’s branding with your own. Before launching, test the portal from a client’s perspective to ensure smooth navigation, proper file uploads, and accurate confirmation messages.
Consider creating different portal templates for various client needs. For instance, a real estate agent might design separate portals for buyers and sellers, while an HR department could use distinct setups for onboarding employees versus contractors. A well-designed portal not only reinforces trust but also reduces client confusion and support requests, ultimately leading to higher document submission rates.
Platform Training and Feature Overview
Once the account setup and integrations are in place, the next step is training users to take full advantage of the platform’s features. A solid training program not only clears up confusion but also encourages faster adoption, ensuring users can hit the ground running.
Show Dashboard and Navigation
Start by introducing users to the main interface and its key sections. Highlight the notification center, search tools, and the progress tracking dashboard. Walk them through the primary navigation menu, explaining areas like document storage, active requests, client portals, and reporting tools.
Next, focus on search functionality. Modern document management platforms often use advanced search tools to help users locate files quickly. Show how to search using document names, client names, date ranges, or document types. Teach users to apply filters to refine their results.
The notification center is another critical feature, keeping users informed about new submissions, deadlines, and updates. If the platform includes a progress tracker, demonstrate how it can help monitor document request statuses and identify delays.
For platforms like Collect, guide users on navigating between client portals and managing various document collection campaigns. Explain how the interface may adjust based on user roles and permissions. This walkthrough sets the stage for users to confidently navigate daily tasks.
Teach Core Workflows
Once users are comfortable with the layout, shift the focus to mastering essential workflows. Show them how to create and send document requests, review submissions, and organize files using consistent naming conventions and custom folders.
Break down the document collection process step by step: selecting document types, personalizing request messages, setting deadlines, and choosing recipients. Highlight features like conditional logic, which can display additional fields based on user input.
Demonstrate the review and approval process, including how to access submitted documents, leave comments or feedback, and route items through approval workflows. Explain how version control works, ensuring users understand how revisions are tracked and audit trails are maintained.
File organization is another key area. Teach users how to tag documents with metadata, create custom folders, and use bulk actions to save time. For platforms with collaboration tools, show how team members can work together on documents, leave comments, and track changes. If the system integrates with tools like Slack, explain how notifications and updates are shared across platforms.
Explain Automation and Security Tools
Automation can save time, but users need to know how to set it up and monitor its effectiveness. Start with automated reminders. Show how to configure schedules, customize message templates, and track response rates.
For workflow automation, demonstrate setting up routing rules to send documents to the right people based on criteria like document type or client category. Explain how to establish approval chains and escalation procedures for urgent tasks. If the platform uses AI to handle repetitive tasks like sorting and tagging, show how it learns patterns specific to the business.
Security is a top priority. Explain access controls and how to assign permissions for different documents or folders. Walk users through encryption protocols - both in transit and at rest - and show how audit logs track document access. For compliance, highlight features designed to meet frameworks like GDPR or industry-specific standards. Teach users to set retention policies, automate deletions, and generate compliance reports.
For Collect’s Business plan ($349/month), advanced security features like single sign-on (SSO) and rights management are included. Demonstrate how these tools work and discuss their added benefits.
Finally, emphasize the importance of mobile access. Studies show a 24% productivity boost when employees can manage documents from their phones. Show how to access the platform on mobile devices, upload documents using smartphone cameras, and enable push notifications for urgent updates.
Wrap up this section by introducing analytics and reporting tools. Demonstrate how to generate reports on collection rates, response times, and client engagement. These insights help users identify trends and make informed decisions about their document management processes.
Training Materials and Support Access
Effective training materials and accessible support channels are key to ensuring smooth user onboarding. Companies with well-structured training programs see 218% higher income per employee compared to those without such programs. The secret lies in offering diverse learning resources that cater to various learning styles and ensuring users can easily access support when they need it.
Deliver Training and Documentation
Build a comprehensive training library using a mix of formats like videos, infographics, and step-by-step guides. For complex workflows, video tutorials can simplify intricate processes, while PDF guides serve as quick references for users on the go.
Create a centralized knowledge base that acts as a self-service hub. This should include FAQs, troubleshooting guides, and searchable articles organized by topic. Break content into smaller, digestible sections so users can quickly find answers without frustration.
"One-size-fits-all doesn't work anymore. Tailor the content based on who you're training - whether it's new hires who need foundational knowledge or seasoned employees who require advanced strategies. Keep the material engaging with multimedia like videos, graphics, and live demos, and incorporate interactive elements such as polls, quizzes, and role-playing exercises. The more involved your audience is, the more they'll retain." - Alan Taussik, Sr. Customer Success Manager
Offer live training sessions for teams that prefer interactive learning. Schedule sessions at different times to accommodate remote users, and record them for on-demand access. For platforms like Collect, role-specific training materials can be a game changer. For instance, administrators may need guidance on customizing client portals or integrating tools like HubSpot, Zapier, or DocuSign, while end users may only require basic tutorials on submitting documents and tracking their progress.
"When creating training materials, be sure to include troubleshooting tips. Touch on important basics like legal and security protocols, IT support contacts, and how to file complaints or request inventory and stationery. These details often get overlooked, but they make onboarding much smoother. Employees need to know what 'not' to do just as much as what to do." - Anastasiya Furman, HR Manager
To reduce confusion, include a glossary that explains technical terms and platform-specific jargon. This ensures users can communicate effectively when they need help.
Once your training materials are in place, the next step is setting up reliable support channels.
Set Up Support Channels
Provide multiple support options to meet different user preferences and urgency levels. While 77% of customers prefer email, 63% opt for live chat for quick answers. Additionally, 90% of users value immediate responses, so balancing accessibility with prompt follow-ups is crucial.
- Email Support: Ideal for detailed inquiries that may include screenshots or require in-depth explanations. Use a shared inbox to manage requests efficiently and set clear response time expectations based on service level agreements.
- Live Chat: Perfect for quick fixes like password resets or navigation help. Embedding chat widgets directly within your platform allows users to seek assistance without disrupting their workflow. Train support teams to deliver concise yet personalized responses.
- Phone Support: Best suited for complex technical issues or when users prefer verbal communication. Establish specific operating hours and offer alternative contact options for after-hours support.
Implement a ticketing system to manage and prioritize support requests. This ensures accountability and helps identify recurring issues, which may signal gaps in your training materials.
For Collect's Business plan users ($349/month), priority support is available, offering faster response times and dedicated account management. This level of service ensures enterprise customers receive the attention they expect.
Define clear escalation procedures for urgent matters like system outages, security issues, or compliance deadlines. Make sure these requests are routed to senior support staff or technical specialists promptly.
"At Brightpearl, we live by playbooks: documented processes as to how we go to market for any particular role. Whether it's support, customer success, or product management, a playbook defines their approach. These give structures and guardrails within which anyone in any role knows they can achieve the outcome we need, but with the flexibility to make course corrections for cultural differences." - Matthew Bruun, Chief Revenue Officer at Brightpearl
Collect User Feedback
To ensure your training and support systems are effective, consistently gather user feedback. With 40% of customers preferring to find answers on their own rather than contact support, it’s essential to identify where self-service resources may fall short.
Use post-onboarding surveys at 30, 60, and 90 days to evaluate the effectiveness of your training. Combine rating scales with open-ended questions to collect both quantitative and qualitative insights.
Analyze support tickets to spot patterns in user inquiries. If multiple users frequently ask about the same feature or process, it might indicate a gap in your training materials. Regularly reviewing these tickets can guide updates to your documentation.
Track user behavior within your platform to identify features that cause confusion or are frequently avoided. Use these insights to refine your training content and simplify complex workflows.
Introduce real-time feedback tools, such as in-app rating widgets or quick polls after task completion, to capture immediate reactions. Use this data to schedule periodic reviews and updates of your training resources based on user suggestions and emerging challenges.
For Collect users, consider launching a user community forum. This space allows customers to share tips, ask questions, and provide direct feedback to your product team. Not only does this reduce the burden on formal support channels, but it also fosters stronger engagement among users.
sbb-itb-5a90164
Post-Onboarding Review and Improvement
Once your onboarding process is up and running, the work doesn’t stop there. To ensure long-term success, it’s essential to keep reviewing and fine-tuning your approach. By consistently tracking key metrics and gathering feedback, you can figure out what’s working well and where adjustments are needed to improve the overall experience for users.
Track User Adoption Numbers
Pay close attention to metrics that reveal how quickly users are reaching their first success and how efficiently they’re realizing value from your platform.
- Time to Value (TTV): This measures how long it takes for users to achieve their first meaningful outcome after signing up. For instance, in document management systems, TTV might be the time from account creation to successfully collecting their first client document. A shorter TTV can help reduce churn rates significantly.
- Onboarding Completion Rates: Low completion rates could signal issues in your onboarding flow. If users drop off at specific steps consistently, it’s a sign that those areas need immediate attention.
- Feature Adoption and Support Tickets: Track how users are engaging with key features and integrations, such as HubSpot, Zapier, or DocuSign. A spike in support tickets might indicate confusion or trouble with certain parts of the onboarding process. Analyzing these tickets can uncover patterns and pinpoint areas for improvement.
- Engagement Rates: Monitor daily and weekly active users to gauge how well your onboarding efforts are driving engagement. Segmenting users into cohorts can help you understand different customer journeys and tailor strategies to their needs.
Once you’ve gathered and analyzed these metrics, you can focus on periodic follow-ups to strengthen user adoption.
Schedule Follow-Up Check-Ins
Metrics are just the starting point - regular, proactive check-ins can help address challenges users face as they integrate your platform into their workflows. These follow-ups are critical for ensuring users stay engaged and satisfied.
- 30-Day Check-In: At this point, assess how users are adapting to the platform. Identify any features they’re struggling with or avoiding entirely. This is an excellent time to provide additional guidance while their experience is still fresh.
- 60-Day Progress Review: Dive deeper into how users are progressing toward their goals. For Collect users, this might mean evaluating how efficiently they’re collecting client documents or whether they’re leveraging automation features. Use this opportunity to introduce advanced tools or features they may have missed during initial training.
- 90-Day Comprehensive Assessment: By this stage, you’ll want to measure overall satisfaction and explore opportunities for expanded usage. Discuss additional integrations or workflows that could further streamline their processes.
For Business plan users ($349/month), Collect provides priority support with dedicated account management. These personalized sessions are a great opportunity to gather detailed feedback and address any new needs that have emerged.
Additionally, consider offering refresher training sessions for teams that need help with specific features or workflows. These sessions should be short and focused, targeting real-world challenges users have encountered.
Document the recurring issues that come up during check-ins and use that information to improve your training materials and onboarding process. This creates a feedback loop that consistently enhances the user experience.
Update Training Materials
User feedback and platform updates should drive continuous improvements to your training materials. Keeping these resources current ensures users have the tools they need to succeed.
- Address Training Gaps: Analyze support tickets and feedback to identify areas where users are struggling. If the same questions keep coming up, it’s a clear sign that your documentation or training content needs to be clarified or expanded.
- Adapt to Platform Updates: Whenever new features are introduced or workflows change, update your materials accordingly. For Collect users, this might involve adding information about new integrations or tools.
- Stay Compliant: For industries with strict regulations, ensure your training materials are regularly updated with the latest compliance and security guidelines. This is especially important for platforms handling sensitive data.
- Tailor Role-Specific Training: Different user roles often require different levels of detail. For example, administrators may need in-depth guidance on managing permissions, while end users might benefit from simplified tutorials on core tasks.
Incorporate real-world examples, like case studies, to make your training more relatable and actionable. Showing how other organizations have successfully used the platform can inspire confidence and offer practical insights.
Establish a regular review schedule to update training materials at least quarterly or whenever significant changes occur. Use version control to track updates and maintain consistency across all channels.
U.S. Formatting and Standards
When introducing users to your document management system, getting the formatting right is key. Proper formatting not only avoids confusion but also helps users feel at ease with your platform. Missteps, like using the wrong date format or currency style, can disrupt an otherwise smooth onboarding process.
Apply U.S. Format Standards
American users are accustomed to specific formatting conventions, so your materials should consistently reflect these expectations. Key areas to focus on include dates, times, currency, and numbers.
Dates in the U.S. follow the MM/DD/YYYY format. For example, June 14, 2025, should appear as 06/14/2025. Similarly, 12/25/2024 is instantly recognized as Christmas Day.
Time should use the 12-hour clock with AM/PM indicators. Instead of "15:30" for an afternoon meeting, display "3:30 PM." This format should be applied across all timestamps, reminders, and schedules.
Currency in the U.S. uses the dollar sign ($) with commas to separate thousands and a period for decimals. For instance, "$1,234.56" is the correct style for pricing information.
Numbers also follow the same comma-and-period rules. Present figures like "1,250 documents processed" or "99.5% success rate" to ensure clarity and readability.
| Format Type | U.S. Standard | Correct Example |
|---|---|---|
| Date | MM/DD/YYYY | 06/14/2025 |
| Time | 12-hour clock | 3:30 PM |
| Currency | $#,###.## | $1,234.56 |
| Number | #,###.## | 1,234.56 |
When importing data, ensure numbers are in raw format without European-style punctuation (e.g., "1000.00" instead of "1.000,00"). This prevents errors when integrating with tools like HubSpot, Zapier, or DocuSign.
Use American English
Consistency in language is just as important as formatting. Using American spelling and terminology throughout your documentation and interface reinforces a seamless experience for U.S. users. For example:
- Write "customize" instead of "customise" and "color" instead of "colour."
- Use terms like "companies", "check", and "zip code" for address fields.
In addition, tailor examples and scenarios to American contexts. For instance, reference "filing taxes by April 15th" or "preparing mortgage documents for a home closing." Avoid British expressions like "straightaway" (use "immediately"), "whilst" (use "while"), or "amongst" (use "among"). Keep the tone conversational and aligned with everyday U.S. business communication.
Address U.S. Compliance Requirements
Adhering to U.S. formatting and language conventions also helps align your platform with American regulatory standards. While you don't need to provide legal advice, referencing relevant regulations such as HIPAA, FERPA, and CCPA can reassure users about compliance.
Different industries may require tailored onboarding. For example, real estate professionals need to understand how workflows comply with fair housing laws, while HR teams may need guidance on meeting EEOC standards for employee records.
Security is another critical area. Highlight frameworks like SOC 2 compliance to show how features like secure portals and automated reminders support audit trails required by U.S. regulations.
Finally, make sure to communicate record retention practices according to U.S. laws. Some industries, like healthcare, must follow specific schedules under regulations like HIPAA. Incorporate American-specific details elsewhere too - use Fahrenheit for temperatures, imperial units (feet, inches, pounds) for measurements, and reference American locations and time zones in examples. These details create a cohesive, localized experience that resonates with U.S. users throughout their onboarding journey.
Conclusion
A well-planned onboarding checklist turns what could be an overwhelming process into a straightforward journey for new users. By following the steps outlined - from preparation to ongoing refinement - you set the stage for long-term success with your document management system. These steps work together to create a smooth, efficient process that saves time while delivering maximum value.
Main Points to Keep in Mind
- Preparation is everything: Start strong by setting clear goals, mapping out user journeys, and gathering the right resources ahead of time. This ensures a seamless rollout from day one.
- Training and support go hand in hand: Combine interactive training sessions and detailed documentation with accessible support channels - whether through chat, email, or phone - to empower users right from the start.
- Ongoing improvement is critical: Regularly collect feedback, monitor user adoption, and schedule periodic check-ins. This helps you refine the process as your platform evolves or compliance requirements change.
When onboarding is broken into simple, sequential steps, users are less likely to feel overwhelmed. Instead, they gain confidence with each task they complete. This structured approach can boost user retention by up to 50% and significantly shorten the time it takes for new users to realize the system's value.
How Collect Simplifies Onboarding
Collect builds on these principles to make onboarding smoother and more efficient through its automation and integration capabilities. The platform is designed to streamline your checklist, offering tools that align perfectly with your workflow.
- Automated reminders keep users on track, reducing the need for constant follow-ups from your team.
- Customizable client portals allow you to tailor the experience to match your brand and specific workflows.
- Seamless integrations with popular tools help users connect their current workflows, minimizing the learning curve and showing immediate value.
Collect also supports white-label options, ensuring your brand remains front and center throughout the onboarding process. With conditional logic, users see only the steps and features relevant to their role, avoiding the confusion that comes with generic, one-size-fits-all approaches.
For technical teams, REST API and webhook integrations enable automated data flows and smooth system connections, cutting down on manual work. Additionally, Collect prioritizes security and compliance, addressing common setup concerns so users can focus on learning the system without worrying about data protection.
FAQs
What are the most important metrics to monitor during user onboarding for a document management system, and why are they valuable?
Tracking the right metrics during user onboarding is crucial for ensuring your document management system is adopted smoothly. Two key metrics to focus on are time-to-productivity - how quickly users can start using the system effectively - and user satisfaction scores, which reflect their overall experience and how easy they find the system to navigate.
By keeping an eye on these metrics, you can uncover potential pain points, like workflows that are too complex or instructions that lack clarity. Addressing these challenges can lead to better user engagement, higher adoption rates, and a much smoother onboarding experience.
How does role-based access control (RBAC) improve security during user onboarding for document management systems?
Role-based access control (RBAC) enhances security during user onboarding by assigning permissions based on specific roles. This approach ensures that new users can only access the tools, documents, and features they need for their responsibilities, minimizing the chances of unauthorized access or accidental errors.
With RBAC in place, organizations can enforce the principle of least privilege, making it easier to manage users while keeping security measures robust as the platform scales. It also streamlines the onboarding process by offering a customized experience for users, all while protecting sensitive data.
What are the best practices for improving the onboarding process for document management systems?
To make the onboarding process for document management systems smoother and more effective, prioritize clear communication and actively seek user feedback. Begin by crafting straightforward policies and procedures that make it easier for new users to get started. Regularly collect input from users to uncover challenges and adjust the process to better address their needs.
It's equally important to provide your team with well-structured documentation and accessible training materials. Promote a mindset of ongoing learning to ensure users stay informed about system updates and best practices. By blending these approaches, you can create an onboarding experience that’s more seamless, intuitive, and aligned with your organization’s objectives.
Related posts