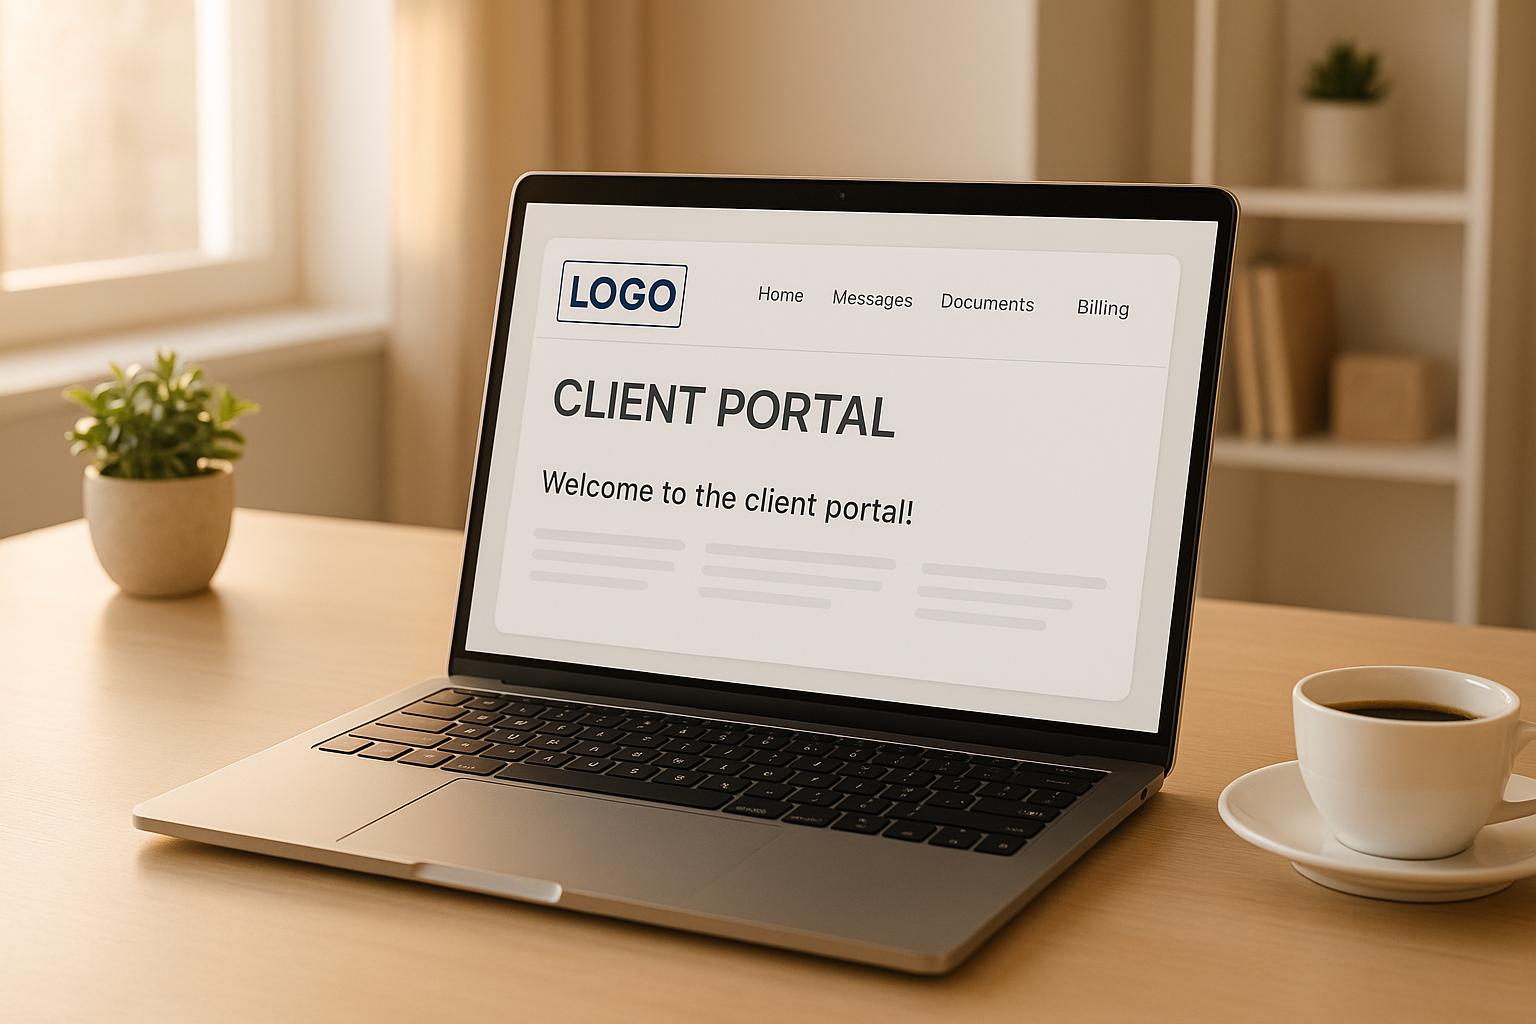
Adding your logo to a client portal instantly makes it more professional and aligned with your brand. Here’s how you can do it effectively:
- Why it Matters: A branded portal builds trust and credibility. Research shows 75% of users judge credibility based on design, and consistent branding can boost revenue by up to 20%.
- What You Need: Prepare logo files in PNG, JPG, or SVG formats, under 500 KB. Common sizes are 250x150 pixels (horizontal) or 160x160 pixels (square). Also, have variations for light and dark backgrounds.
- How to Do It: Access the portal’s branding settings (usually under "Settings" or "Customization"), upload your logo, and preview changes. Save and check across devices to ensure quality.
- Best Practices: Use high-resolution files, maintain consistent colors and fonts, and ensure your logo looks good on all backgrounds and devices.
Tools like Collect make this process easier by offering white-label features, custom domains, and integrations with platforms like HubSpot and DocuSign. A well-branded portal enhances client experience and reinforces your professional image.
Prerequisites for Logo Integration
Make sure you have the right files and access permissions to avoid any hiccups during the upload process.
Supported File Formats and Dimensions
Most client portals accept PNG, JPG/JPEG, and SVG formats for logo uploads. Each format has its strengths: PNG files are perfect for digital use thanks to their transparent backgrounds, while SVG files maintain sharp quality no matter how much you resize them.
To keep things running smoothly, ensure your logo file is under 500 KB. For dimensions, consider these common recommendations: 250 x 150 pixels for horizontal logos or 160 x 160 pixels for square ones. Some platforms also suggest a 3:1 aspect ratio with a minimum width of 120 pixels. Be sure to check if your platform requires high-resolution images within the same file size limit.
If the portal allows favicon customization, prepare a separate file sized 16 x 16 pixels in either ICO or PNG format. This small icon, visible in browser tabs and bookmarks, is a subtle yet effective way to enhance brand visibility.
It’s also smart to have multiple logo variations ready before you start. Prepare horizontal, vertical, and icon-only versions, along with different color options like full color, black, white, and inverse. This ensures your logo looks great, no matter the portal's background.
Once your files are ready, make sure you have the necessary permissions to upload them.
Access and Permissions
Double-check that you have administrative access to modify branding settings. Regular user accounts typically don’t have the rights needed for these customizations.
To find the logo upload options, head to the Settings or Admin section of your portal. These options are often labeled under categories like "Branding", "Customization", "Portal Settings", or "White Label Options." Depending on the platform, you may need to navigate through multiple menu layers to locate the right settings.
If you’re using Collect’s white-label features, administrative users can easily access branding settings through its user-friendly interface. Collect also integrates seamlessly with tools like HubSpot, Zapier, and DocuSign, making it simple to connect your branded portal with your existing workflows.
Before making any changes, save your current settings. This backup is helpful if you need to revert changes or if multiple team members are involved in the customization process. Many platforms also offer a preview mode, allowing you to see how your logo will look before finalizing the updates.
With your logo files prepared and permissions confirmed, you're ready to start customizing your client portal’s branding. Next, move on to the detailed steps for uploading your logo.
Step-by-Step Guide to Adding Logos in Client Portals
Now that your logo files are ready and you've confirmed your access permissions, it's time to upload them and customize the look of your client portal.
Finding the Branding Settings
The location of branding settings can differ depending on the client portal platform you’re using, but the navigation is often similar. Start by logging in with your administrator credentials and head to the Settings section.
Look for menu options like Business Info, Account Settings, Company Settings, Branding, Customization, Portal Settings, or White Label Options. Sometimes, it might take a bit of searching through these menus to find the right section.
If you’re using Collect’s white-label features, the branding settings are conveniently located in the admin interface, making the customization process straightforward.
If you’re unable to locate the branding settings, check the platform’s help documentation or reach out to customer support for guidance tailored to your portal version. Once you’ve found the branding settings, you’re ready to upload and adjust your logo.
Uploading and Adjusting Logos
Once inside the branding settings, you’ll typically find a drag-and-drop interface or a file browser to upload your logo. Look for buttons labeled Upload Logo or Choose File and select your prepared logo file from your computer.
For the best results, upload a high-resolution logo in PNG, JPEG, or SVG format, keeping the file size under 500 KB. This ensures your logo displays clearly across all devices. Most platforms will show you a preview of the uploaded logo so you can immediately see how it fits into the portal’s layout.
Pay attention to how your logo looks on various devices. Many platforms automatically resize logos to fit specific spaces, but some also allow manual adjustments for fine-tuning. Avoid using logos with very small text, as it can become unreadable when scaled down.
If your platform allows favicon customization, follow the file guidelines mentioned earlier and upload your favicon. After making any needed adjustments, move on to saving your changes and reviewing the results.
Saving Changes and Checking Results
Saving your changes is the final step to integrating your logo and enhancing your portal’s professional appearance. After uploading and positioning your logo, look for the Save or Apply Changes button in the branding settings. Without saving, your logo won’t appear on the portal.
Once you’ve clicked Save, the platform may take a moment to update and apply the changes across all pages.
To verify your updates, open your client portal in a new browser tab or window. This allows you to see the portal as your clients would. Check that your logo appears in the correct location and maintains its proportions.
If the changes don’t show up immediately, refresh the portal. Browsers sometimes cache older versions of pages, so a manual refresh ensures you’re viewing the latest version with your new branding.
Take a moment to browse through different sections of the portal. Ensure your logo appears consistently across all pages and looks good on both desktop and mobile devices. If you notice any issues, such as distortion or poor positioning, return to the branding settings and make the necessary adjustments.
Logo Customization Best Practices
Uploading your logo is just the first step. To ensure it looks polished and stays true to your brand across all devices and viewing conditions, you need to pay close attention to the details. Following these best practices will help you create a consistent and professional appearance that strengthens trust with your clients.
Maintaining Logo Quality and Clarity
Your logo’s clarity plays a huge role in leaving a professional impression on your client portal. To achieve this, design your logo as a vector file using tools like Adobe Illustrator. Unlike traditional image files, vector graphics maintain their sharpness regardless of size, so your logo will look crisp whether it’s displayed large or small.
When preparing your logo for the web, use these key guidelines:
- Stick to vector designs for scalability.
- Save images at 72 DPI for online use.
- Opt for PNG files for transparency or SVG files for sharp scaling. Use JPEG only when reducing file size is critical.
Your logo also needs to be legible across all devices. As designer Sagi Haviv famously said:
"A good logo should be three things: Appropriate, Distinctive & Memorable, and Simple".
To adapt to different layout needs, create multiple variations of your logo. These might include a primary logo, a compact horizontal version, an icon-only option, and a monochrome version. This flexibility ensures your logo works seamlessly across different dimensions and color schemes.
Matching Logos with Brand Elements
Once your logo is clear and sharp, it’s time to align it with your brand identity.
Your logo is just one piece of the puzzle - it needs to complement your portal’s colors, fonts, and design as a whole. Consistency is key to building a recognizable image. Research even shows that consumers value a familiar logo.
Start by defining clear rules for your brand colors, including which combinations work well together. Use your primary logo version as much as possible to build recognition, but when alternative versions are necessary, ensure they maintain the same color relationships and overall visual balance as the main logo.
Font consistency is equally important. Choose typefaces that match your brand’s personality and use them consistently throughout your portal. If your logo includes text, make sure the portal’s fonts harmonize with its typography rather than clashing.
Another critical factor is contrast. Ensure strong contrast between your logo and its background to maintain visibility and professionalism. This is especially important if your portal uses multiple background colors in different sections.
Finally, create a detailed brand guide that spells out how to use your logo. Include rules for minimum sizes, spacing, approved color variations, and placement. This ensures consistency even when multiple team members are involved in updates.
Making Logos Work on Different Backgrounds
Many client portals now support both light and dark modes, so your logo needs to look great in both environments. Using transparent PNG files can help avoid awkward white boxes around your logo when switching to dark backgrounds.
It’s also a good idea to adjust your logo or create a separate version specifically for dark mode. This ensures it remains visible and professional no matter the theme.
In 2021, Pathwire reported that 43% of email marketers and designers found optimizing logos and images for dark mode to be a major challenge, while 33% struggled to keep designs consistent with their brand. Clearly, this is a common issue across digital platforms.
To address this, preview your logo in dark mode during setup. Many client portals allow theme switching, so test both light and dark modes to identify any contrast issues or clashing colors. If your current logo doesn’t work well in both modes, consider designing a dedicated dark-mode version.
For even greater control, consider placing your logo within a header graphic that includes its own background. This approach allows you to manage both the logo and the backdrop, ensuring it stays clear and polished regardless of the portal’s theme settings.
sbb-itb-5a90164
Using Collect for Client Portal Branding
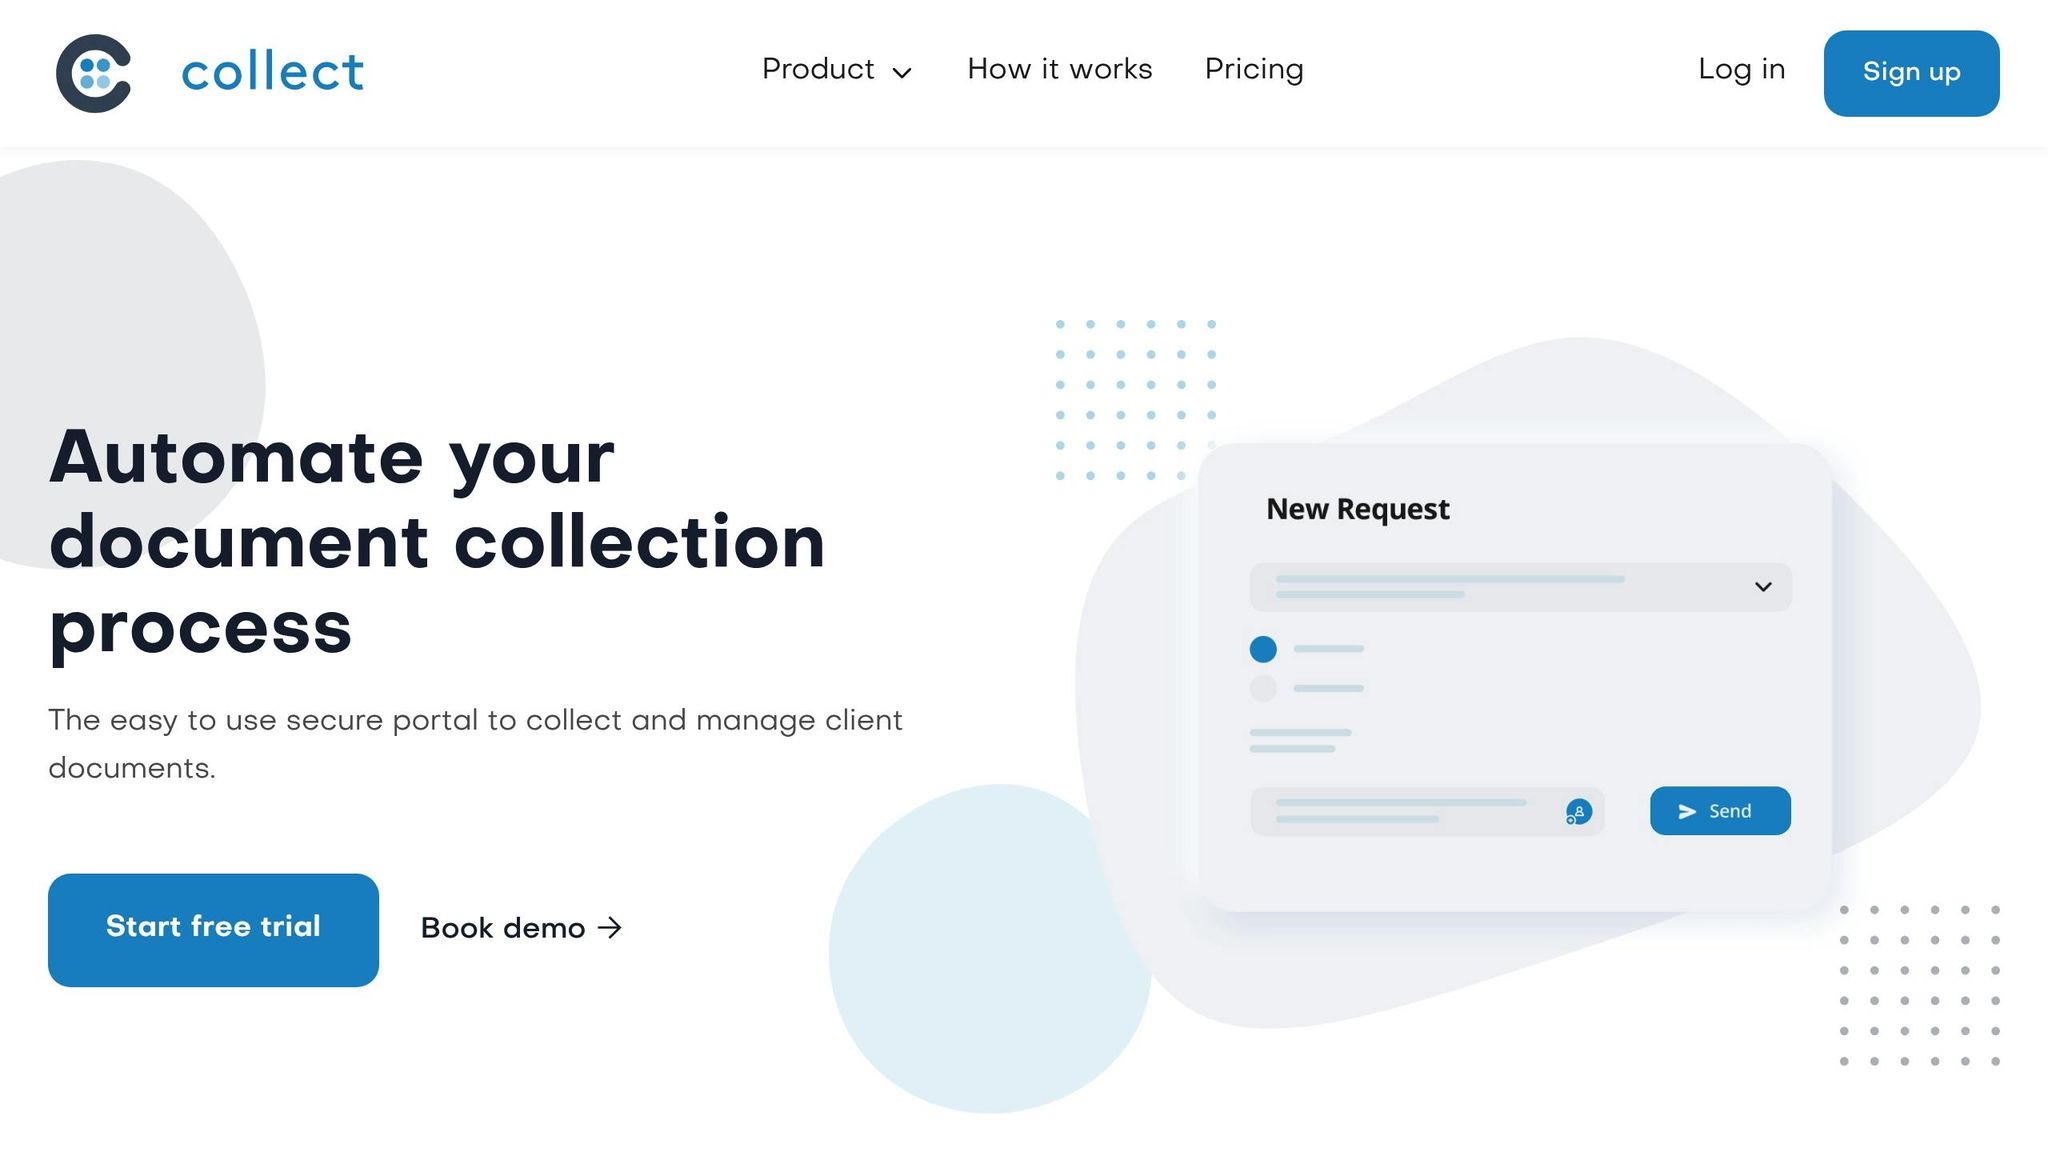
With Collect's advanced platform, businesses can seamlessly integrate professional logos and unified branding to create a polished client experience. The goal? Strengthen client relationships while simplifying document collection processes.
Let’s dive into how Collect’s white-label features can elevate your client portal.
White-Label Branding with Collect
Collect’s white-label tools transform your client portal into a natural extension of your brand. Instead of using Collect's domain, you can host the portal on your own custom domain (e.g., portal.mydomain.com). This instantly enhances your professional image and builds trust with your clients.
Beyond domain customization, Collect allows you to tailor your portal’s logo and color scheme to align perfectly with your brand identity. You can even modify the language throughout the portal to reflect your brand’s unique voice and tone. For those seeking more advanced design control, the platform supports custom CSS files, enabling you to fine-tune the portal’s appearance to match your style guidelines.
What makes Collect stand out is its dedication to true white-label functionality. As the platform itself puts it:
"Elevate your brand with white label solutions".
All references to Collect are removed from your client portal, ensuring a fully branded experience. Even emails sent through the portal can originate from your own domain, further enhancing credibility and professionalism.
This level of customization ensures your client portal feels like an integral part of your business, not an add-on.
Integrations for Better Workflow
Collect’s branding features pair effortlessly with its robust integrations, creating a seamless workflow without sacrificing your brand’s identity. The platform connects with tools like Zapier, HubSpot, Pipedrive, and DocuSign, automating processes while maintaining consistent branding.
For example, when clients upload documents through your custom portal, the data can automatically flow into your HubSpot CRM, trigger Zapier workflows, or initiate document signing with DocuSign. Collect also integrates with Box, Dropbox, Google Drive, SharePoint, OneDrive, and Slack, ensuring smooth data management across platforms. Throughout these interactions, your branding remains front and center, reinforcing a cohesive experience at every step.
These integrations are the backbone of an efficient, branded workflow, making it easier to manage client interactions while maintaining a professional image.
Industry-Specific Benefits
Collect’s branding and document collection solutions are tailored to meet the unique needs of industries like real estate, HR, and education.
- Real Estate: In a field where trust and professionalism can make or break deals, a branded client portal can be a game-changer. Real estate professionals can use Collect to create portals that match their brokerage’s branding, streamlining tasks like loan applications, property disclosures, and closing paperwork.
- Human Resources: For HR departments, branded portals simplify onboarding and document management. A portal reflecting the company’s branding and culture reassures new hires and creates a welcoming experience from day one.
- Education: Schools and universities can customize portals with their colors, logos, and communication styles to handle tasks like enrollment, financial aid paperwork, or student records. This not only reinforces the institution’s identity but also ensures a professional and secure document exchange process.
For US-based businesses in these industries, Collect’s white-label solutions provide the flexibility to meet specific compliance and workflow needs. From custom domain names to branded email communications, Collect ensures your brand stays at the forefront of every client interaction. This consistency builds trust and confidence across all sectors.
Conclusion
Adding logos to client portals does more than just enhance aesthetics - it turns a basic document collection tool into a branding powerhouse that builds trust and credibility. By following straightforward technical guidelines, you can ensure your logo looks sharp and professional across all devices. Beyond just setup, investing in branding delivers real business benefits.
Studies reveal that 75% of website visitors judge a company's credibility based on design alone, and fully engaged clients can bring in 23% more revenue compared to less engaged ones. When clients consistently see your logo and brand colors throughout their portal experience, it reinforces the perception of professionalism and reliability. These numbers highlight the strategic importance of strong portal branding.
"Your brand image is established as soon as a client accesses your portal, and a customized white-label client portal lets you control these experiences, making a memorable impression from the start." – Kuzma Safonov, CTO at FuseBase
To get it right, focus on the details. Use high-quality logo files, avoid small text, and ensure your logo adapts to different backgrounds and screen sizes, whether viewed on a phone or a desktop.
Key Takeaways
In summary, integrating your logo is about more than just meeting technical requirements - it’s a way to strengthen your brand identity. Start with high-resolution image files that meet platform specs and maintain consistency in all client-facing interactions.
With tools like Collect, portal branding becomes simple. You can upload your logo, adjust color schemes, and even host your portal on a custom domain like portal.yourbusiness.com. By removing third-party branding, the platform creates a seamless experience that feels like an extension of your business.
Investing in professional portal branding pays off. It boosts client trust, increases engagement, and even supports premium pricing. Whether you’re in real estate, HR, education, or another service-driven industry, a well-branded client portal is more than a tool - it’s a strategic asset that elevates your business and streamlines operations.
FAQs
What are the advantages of using Collect's white-label features to customize my client portal?
Create a Branded Client Portal with Collect
With Collect's white-label features, you can design a client portal that feels like an extension of your brand. From your logo to your color scheme and overall layout, every detail can be tailored to match your company's identity, delivering a polished, professional experience for your clients.
Having a branded portal does more than just look good - it reinforces your company's credibility and shows clients that you care about the finer details. Plus, Collect’s solution saves you the hassle and expense of building a custom platform from scratch. It’s an efficient option that integrates smoothly with tools like Zapier, HubSpot, and Docusign, ensuring it fits seamlessly into your existing workflows.
How can I make sure my logo looks great on both light and dark backgrounds in a client portal?
To make sure your logo looks sharp and professional on both light and dark backgrounds in a client portal, keep these tips in mind:
- Use contrasting colors: Match dark logos with light backgrounds and light logos with dark backgrounds to ensure your design stays visible and easy to read.
- Add a subtle border or outline: For example, a white outline around a dark logo can help it stand out against similar-colored backgrounds.
- Pick the right file format: Opt for a transparent background (like a PNG) for versatility, or stick with a solid background color for a consistent look.
- Test in different display modes: Always preview your logo in both light and dark modes to make sure it stays crisp and readable in every setting.
These small adjustments can elevate your branding and create a seamless, professional experience for your clients.
What should I do if my uploaded logo looks blurry or distorted on the client portal?
If your logo looks blurry or distorted in the client portal, here’s how you can fix it:
- Choose the right file format: Go with high-quality formats like PNG for transparency or SVG for scalability. These formats ensure the logo looks sharp across different devices.
- Optimize size and resolution: Use a high-resolution image that’s under 500 KB to ensure quick loading times. Stick to the portal's recommended dimensions, such as 120–160 pixels wide, for the best fit.
- Keep the aspect ratio intact: Avoid stretching or squishing the logo - always maintain its original proportions.
Once you’ve made these changes, upload the updated logo and check how it displays on both desktop and mobile devices. If it’s still not right, try another version of the file that aligns with these tips.
Related posts