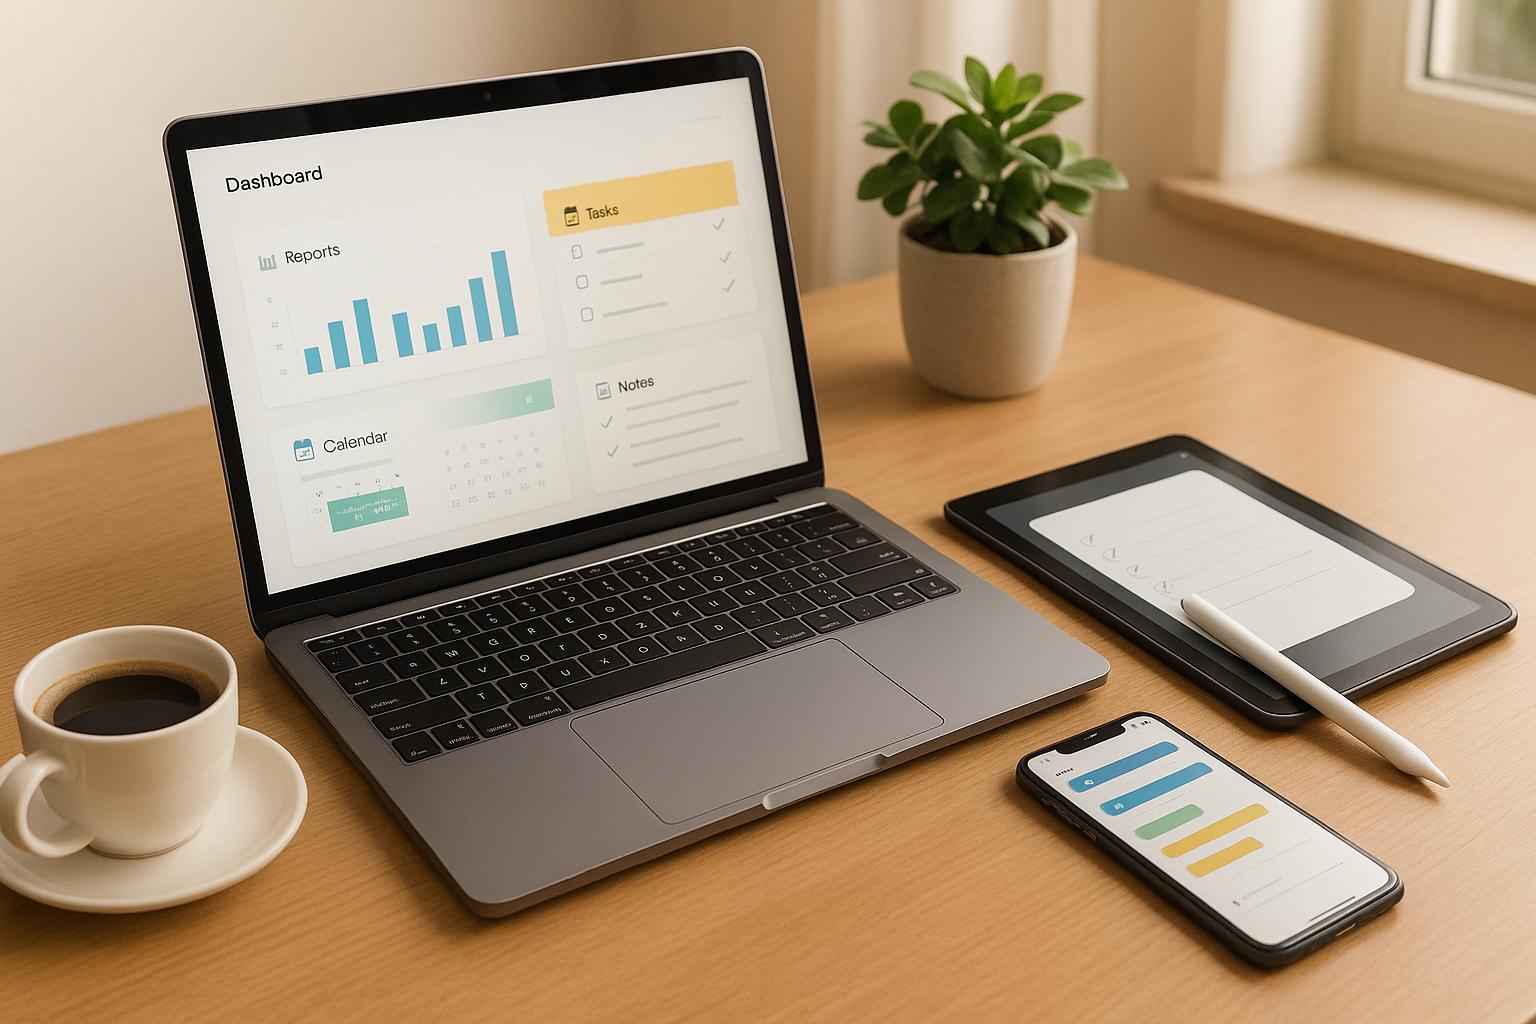
Switching to a paperless workflow can save your business time, money, and resources. Here’s why it matters and how you can get started:
- Cost Savings: U.S. companies spend over $120 billion annually on printed forms, and the average office worker uses 10,000 sheets of paper a year. Going paperless can save up to $8,000 per employee annually.
- Efficiency Boost: Digital workflows reduce document processing time by 50%, eliminate time spent searching for lost files, and improve collaboration.
- Security and Compliance: Digital documents are easier to secure with encryption and access controls, reducing the risk of data breaches.
- Environmental Impact: Paper accounts for 40% of U.S. waste, and reducing paper use supports sustainability goals.
The 5 Steps:
- Review Your Current Workflow: Audit document-heavy processes and set clear goals like cutting costs and improving efficiency.
- Choose the Right Tools: Invest in document management systems, cloud storage, and e-signature platforms that integrate seamlessly.
- Digitize Your Documents: Scan and organize files with clear naming conventions and folder structures.
- Automate Document Collection: Use tools to automate repetitive tasks like document requests and approvals.
- Monitor and Improve: Regularly audit your system, track performance, and train your team to maximize efficiency.
Ready to start? Begin by identifying your most inefficient processes and choosing tools that simplify the transition to a paperless system.
Step 1: Review Your Current Workflow
Take a close look at your current document management practices to uncover hidden costs and identify areas for improvement. Breaking down your daily operations can help you spot inefficiencies and create a roadmap for your digital transformation.
Audit Current Processes
Start by examining all processes that rely heavily on documents. Did you know that document-related challenges can eat up over 21% of productivity? On average, professionals spend about 18 minutes searching for a single document, which adds up to nearly 5 hours each week.
Focus your audit on these critical areas:
- Client onboarding: How long does it take to collect documents? Are follow-ups frequent? What’s the risk of misplacing critical files? Onboarding often involves multiple storage locations - email (68%), shared drives (58%), local disks (54%), and cloud files (54%).
- Approval workflows: How much time is spent waiting for approvals, especially when physical signatures are required? Are there issues with version control? A staggering 95% of employees report difficulty finding the most recent version of a document.
- Record-keeping and compliance: How efficient is your storage system? How long does it take to retrieve documents during audits? Keep in mind, 7.5% of documents are lost, and another 3% are misfiled.
Gather input from your team about their daily struggles with document management. For instance, 44% of employees say locating documents is both difficult and time-consuming, and 86% admit to recreating documents they couldn’t find. Create a detailed list of all manual processes, including time estimates, the people involved, and recurring pain points. This will serve as a baseline to measure the return on investment (ROI) after implementing digital solutions.
These insights will help you set clear, actionable goals for your transition to a digital workflow.
Set Goals for Going Paperless
Define specific objectives to guide your shift to a paperless system. Common goals include cutting costs, improving efficiency, and ensuring compliance.
Here are three key areas to focus on:
- Cost reduction: Minimize expenses on paper, printing, storage, and labor by replacing physical processes with digital alternatives.
- Efficiency improvements: Set achievable targets for reducing the time spent retrieving documents, which can lead to noticeable productivity gains.
- Compliance improvements: For industries governed by regulations like HIPAA or SEC requirements, prioritize enhanced security, detailed audit trails, and stronger data protection. Digital systems offer compliance features that paper simply can’t match.
Establish a timeline that prioritizes high-impact areas first, and clearly communicate these goals to encourage team buy-in and adoption.
Step 2: Select the Right Tools
Picking the right software stack is key to making your paperless transition a success. This shift can cut document processing time by 50% and save around $8,000 per employee each year. Since more than half of professionals (54%) spend more time searching for documents than replying to emails, it's smart to prioritize tools with strong search features and easy-to-use interfaces.
Look for platforms that work across Windows, macOS, iOS, and Android. Then, focus on the core categories that will support your digital workflow.
Document Collection and Management
A solid document management system is the backbone of a paperless workflow. For example, Collect offers a well-rounded solution with features like customizable client portals, automated reminders, and white-label options to keep your branding consistent throughout the process.
Collect integrates smoothly with tools like Zapier for workflow automation, HubSpot CRM and Pipedrive for managing customer relationships, and DocuSign for electronic signatures. These integrations help streamline tasks, eliminate redundancies, and ensure all your tools work together seamlessly.
The platform also uses conditional logic to create adaptive forms, simplifying document collection. Its Pro plan ($129/month) includes unlimited document requests and 100 GB of storage, while the Business plan ($349/month) adds advanced features like API access, single sign-on (SSO), and rights management, making it suitable for larger organizations.
When choosing a document management system, look for features like OCR technology to make scanned documents searchable, metadata tagging for better organization, and version control with audit trails. Security is non-negotiable - ensure the platform includes end-to-end encryption, multi-factor authentication, and compliance with regulations like GDPR and HIPAA.
Cloud Storage Solutions
Once you have a document management system, the next step is secure and accessible storage. Cloud storage ensures your documents are backed up and available from anywhere, with role-based access control for added security. Popular options include Box, Dropbox, Google Drive, SharePoint, and OneDrive.
When comparing cloud storage providers, prioritize those that support universal file formats like PDF and DOCX to ensure documents maintain their layouts across platforms. Offline access can also be a lifesaver for teams working in areas with unreliable internet.
You’ll also want to consider storage capacity, collaboration tools, and how well the platform integrates with other systems. Middleware solutions can be especially helpful for connecting different apps and ensuring smooth data flow.
E-Signature Platforms
E-signature tools are a must for speeding up approval processes and keeping documentation legally binding. Platforms like DocuSign simplify this by offering features like automated routing and template creation, making it easier to handle approvals efficiently.
These tools eliminate the delays that come with physical signatures and provide detailed audit trails to ensure compliance. Mobile compatibility is another important feature, allowing both your team and clients to sign documents seamlessly, no matter where they are.
When evaluating e-signature platforms, make sure they meet industry regulations. Look for robust API and webhook integrations to enable real-time data updates, cutting down on manual work and streamlining your operations.
Step 3: Convert Your Documents to Digital
Turning your paper documents into digital files is the key to linking your current processes with modern digital management systems. But to make this transition smooth and effective, you need a well-planned approach that minimizes errors and extra work.
Set Up Scanning Standards
Start by establishing clear scanning guidelines to ensure every document meets consistent quality standards. These guidelines should cover image resolution, document preparation, and tracking the input process.
For most text documents, use a resolution of 300 DPI to balance speed and clarity. If you need print-quality results, increase the resolution to 600 DPI. Different types of documents may require specific settings for the best output:
| Document Type | Recommended DPI |
|---|---|
| Text Documents | 300 DPI (minimum), 600 DPI for printing |
| Line Art | 300 DPI (digital), 900 DPI for printing |
| Grayscale Documents | 600 DPI (scan), 300–600 DPI (save) |
| Color Documents | 600 DPI (general), 300 DPI (screen) |
Proper preparation is just as important as the scanning itself. Remove staples, paper clips, and sticky notes before you begin. Smooth out any creases or folded corners to avoid shadows or distorted text. Group similar types of documents together to make the process more efficient.
For better text recognition and improved OCR (Optical Character Recognition) accuracy, scan against a plain white background. Only use color scanning when absolutely necessary, as it takes more time than black-and-white scanning, especially at higher resolutions.
Make sure your team is well-trained on these standards from the start. As Kevin Craine wisely points out:
"Scanning is important, but it is not easy to do correctly".
After scanning, organize the files immediately to keep your digital system efficient and easy to navigate.
Organize Your Files
Once you’ve created high-quality digital files, a structured filing system is essential for quick and easy access.
Begin by designing a folder structure that aligns with how your team works and thinks about projects. Here are a few approaches to consider:
- By client name: Ideal for service-oriented businesses where projects revolve around specific clients.
- By date: Useful for managing time-sensitive documents or meeting regulatory deadlines.
- By project: Perfect for companies that rely on collaboration across departments.
- By department: Works well for teams that function independently.
A hybrid approach - such as organizing by client, then project type, and finally by date - can often provide the most flexibility.
Establish a consistent file naming convention to make searching and identifying files easier. A good format might look like this:
"ClientName_ProjectType_YYYY-MM-DD_DocumentType"
For example: "JohnsonCorp_ContractReview_2025-05-28_SignedAgreement.pdf".
To avoid confusion with multiple file versions, implement version control. You can use tools like tracked changes in word processors or add version numbers to filenames (e.g., _v1, _v2).
For sensitive documents, set up access controls to ensure only authorized team members can view or edit them.
Finally, make organizing part of your daily routine rather than a task you put off. File new documents immediately after processing, and create new ones directly in their appropriate folders. Regular maintenance - like archiving old files, deleting duplicates, and updating folder structures - will keep your digital system running smoothly. A well-organized archive not only saves time but also sets the foundation for future automation.
sbb-itb-5a90164
Step 4: Automate Document Collection
Once your documents are digitized and neatly organized, it’s time to automate the collection process. This step not only saves countless hours of administrative work but also improves the overall client experience. By automating document requests, businesses can cut processing times by up to 80%. On the flip side, poor document management can lead to a 21% drop in productivity.
Set Up Automated Workflows
After digitization, automating document collection is the logical next step. Start by identifying common roadblocks, such as delayed document submissions or slow approval cycles. Then, map out your workflow by defining three critical components: what events trigger actions (e.g., a new client signup), what tasks should happen automatically (e.g., sending a document request), and who has access to view or edit documents at each stage.
For instance, SC Home Buyers, a real estate company, implemented automated workflows in early 2025. Tasks that previously required 12–24 hours were streamlined to just 2–4 minutes.
Before rolling out a new system across your entire organization, test it with a smaller team. Gather feedback, refine the process, and address any hiccups. Tools like Collect make this transition smoother by integrating with platforms like Zapier, HubSpot, and Pipedrive. This ensures your automated workflows complement your existing tech stack rather than requiring a complete overhaul.
Create Branded Client Portals
Branded client portals add a layer of professionalism and trust by aligning the portal’s design with your company’s branding. Incorporate your logo, brand colors, and other elements to create a seamless and cohesive experience.
Security should be a top priority. Features like robust encryption, strict access controls, and secure cloud backups are essential. A well-designed, user-friendly portal can also ease support demands. Over half of surveyed customers report feeling frustrated when dealing with customer support, so offering an intuitive, self-service option is crucial. Smart file organization, automated document routing, and mobile accessibility empower clients to handle tasks on their own time. For example, Assante, a Canadian wealth management firm, implemented a digital workflow that eliminated the need for constant follow-ups, allowing clients to sign documents quickly and efficiently.
Integration is another key factor in maximizing the value of your portal. By connecting it with tools like your CRM, billing software, or cloud storage, you can streamline operations even further. Collect, for example, offers integrations with DocuSign for electronic signatures, as well as Google Drive, Dropbox, and Slack, creating a connected system that supports your paperless workflow strategy.
The benefits of a well-executed client portal are tangible. Strupek, a content marketing agency, created a portal that gave clients full visibility into team activities. This move cut the agency’s operational costs by 58% and saved nearly 10 hours of administrative work each week.
"We used to save the documents on our local server and manually send them to our customers individually. We can now save the documents in SmartVault and automatically send them to the customers. When time is of the essence, we value being able to process documentation and get it to the customer quicker and securely. We also receive a faster response from the customer than when everything went through email."
– Alex Fernandes, Process Analyst, BayFirst Financial
Step 5: Monitor and Improve Your System
Switching to a paperless workflow isn’t a one-and-done process - it requires regular monitoring and adjustments to keep things running smoothly. Without optimization, inefficiencies can creep in, and businesses risk losing 20–30% of their revenue annually.
Conduct Regular Audits
Regular audits are essential to keep your paperless system performing at its best. These reviews help you catch problems early. Start by identifying key performance indicators (KPIs) that align with your original goals. Common KPIs might include how quickly documents are retrieved, processing costs, collaboration effectiveness, and compliance with security standards.
Pay attention to metrics like document turnaround times and error rates. Combine this data with feedback from employees to spot and fix issues quickly. For instance, if document approval times jump from 2 hours to 6 hours in a quarter, that’s a clear sign something’s wrong. Similarly, an increase in data entry errors could mean your team needs more training or that certain tasks should be automated.
When auditing, look at every step of your workflow to identify delays or redundancies. Task dependencies deserve special attention - small holdups can ripple into larger problems. Also, examine how information flows between teams to address bottlenecks caused by miscommunication.
To gather insights, set up anonymous feedback channels or conduct regular surveys. Employee input can shine a light on what’s working and what’s not.
Leverage the reporting features in your tools to track performance trends. For example, platforms like Collect provide analytics that reveal where documents are getting stuck, giving you a clear roadmap for improvement. If you use tools like HubSpot or Pipedrive, they can supply additional data to show how your paperless system impacts overall operations.
Once you’ve identified areas for improvement, the next step is to ensure your team is well-equipped to make the most of the system.
Train Your Team
Even the best tools won’t deliver results if your team isn’t trained to use them effectively. Ongoing training is crucial for maintaining the benefits of your paperless workflow.
Start by showing employees how the system makes their jobs easier and more efficient. When people see the value, they’re more likely to embrace new tools and features. Communicate updates clearly and set deadlines for training.
Tailor training to fit your team’s needs. Interactive demos, gamified sessions, and video tutorials tend to be more engaging than traditional presentations. For tools like Collect, consider role-specific training that focuses on the features most relevant to each person’s daily responsibilities.
Provide support channels where employees can ask questions and get help. Keep an eye on how the system is being used, and if certain features are underutilized or specific team members are struggling, offer targeted training instead of generic refreshers.
Incentives can also boost participation. Recognize employees who effectively use new features or offer small rewards for completing training modules.
Regularly gather employee feedback to refine your training approach and ensure the system is being used to its full potential.
"For accounting and audit firms, the shift to paperless auditing is more than just an environmental responsibility - it's a strategic imperative that optimizes workflow, supports quality control, and improves collaboration." - Thomson Reuters Tax & Accounting
As technology evolves, staying current with advancements is key to keeping your paperless system efficient and competitive. Organizations that commit to continuous improvement often achieve 40–60% faster processing times and reduce costs by up to 80% compared to traditional paper-based processes.
Conclusion
Switching to a paperless workflow isn’t just about saving trees - it’s about transforming how your business operates. By following the five steps outlined earlier - reviewing your current workflow, choosing the right tools, digitizing your documents, automating document collection, and monitoring your system - you’ll create a more efficient, cost-effective, and client-friendly operation.
Consider this: U.S. businesses waste around $8 billion every year managing paper documents, with 1 to 3% of their revenue going to office printing alone. Going paperless can speed up processing by 40–60% and slash costs by as much as 80%. That’s a big win for your bottom line.
But it’s not just about money. Think about the time lost - an average of four weeks each year - hunting for misfiled or untracked documents. Digital workflows eliminate these headaches, offering better security, smoother collaboration, and the flexibility to work from anywhere.
The environmental perks are just as compelling. The average U.S. office worker uses a staggering 10,000 sheets of paper annually. Reducing or eliminating paper usage not only helps the planet - it also aligns with the values of today’s workforce. With millennials making up the largest share of employees and prioritizing sustainability in their workplace choices, going paperless can even help attract and retain top talent.
Success depends on choosing tools that simplify the process. For example, platforms like Collect can handle document automation, create branded client portals, and integrate seamlessly with systems like HubSpot, Pipedrive, DocuSign, and Zapier. This eliminates the hassle of juggling multiple disconnected tools and ensures a smooth, professional experience for your clients.
Ready to make the leap? Start by tackling your most inefficient processes. The sooner you begin, the sooner you’ll enjoy the rewards: faster operations, lower costs, and happier clients - all while doing your part for the planet. It’s a win-win for your business and beyond.
FAQs
What steps can I take to ensure data security and compliance when moving to a paperless workflow?
Transitioning to a paperless workflow demands careful attention to data security and regulatory compliance. To start, make sure all digital documents are encrypted, keeping sensitive information safe from unauthorized access. Pair this with access controls to ensure only approved individuals can view or edit files, and add an extra layer of protection by enabling multi-factor authentication.
Don’t forget to back up your data regularly and store copies in a secure offsite location - this can help you recover quickly in case of system failures or breaches. Stay on top of compliance requirements like HIPAA or CMMC by building compliance checks into your document management processes. Tools like Collect can simplify this transition by offering features such as secure client portals and automated reminders, helping you manage security and compliance with ease.
What key features should I look for in a document management system to create a paperless office?
When selecting a document management system to support a paperless office, it's important to focus on features that streamline processes, safeguard data, and are easy for your team to use. Here are some key aspects to consider:
- User-friendly design: Choose a system that's straightforward and easy to navigate, so your team can quickly get up to speed without a steep learning curve.
- Strong security measures: Opt for solutions that include encryption, customizable access controls, and safeguards against unauthorized access to protect sensitive information.
- Task automation: Automating routine tasks like setting reminders or organizing documents can save time and help minimize manual mistakes.
- Remote accessibility: A system that allows access from anywhere ensures your team can work efficiently, whether they're in the office or on the go.
- Tool integration: Look for compatibility with platforms like Zapier, HubSpot, Docusign, and Google Drive to simplify workflows and improve overall productivity.
Focusing on these features will help you build a paperless system that’s efficient, secure, and adaptable to the demands of modern work environments.
How can I train my team to successfully adopt a paperless workflow?
To guide your team toward a paperless workflow, start by setting up clear, engaging training sessions. Walk them through how the new system works, highlight its key tools, and explain the benefits - like saving time and cutting costs. Keep the training interactive by encouraging questions and using real-world examples, so everyone feels at ease with the change.
During the transition, offer ongoing support and schedule regular check-ins. This could mean hosting refresher sessions, addressing any hurdles, and collecting feedback to refine the process. By creating a supportive atmosphere, your team will adapt more smoothly and get the most out of the new system.
Related posts